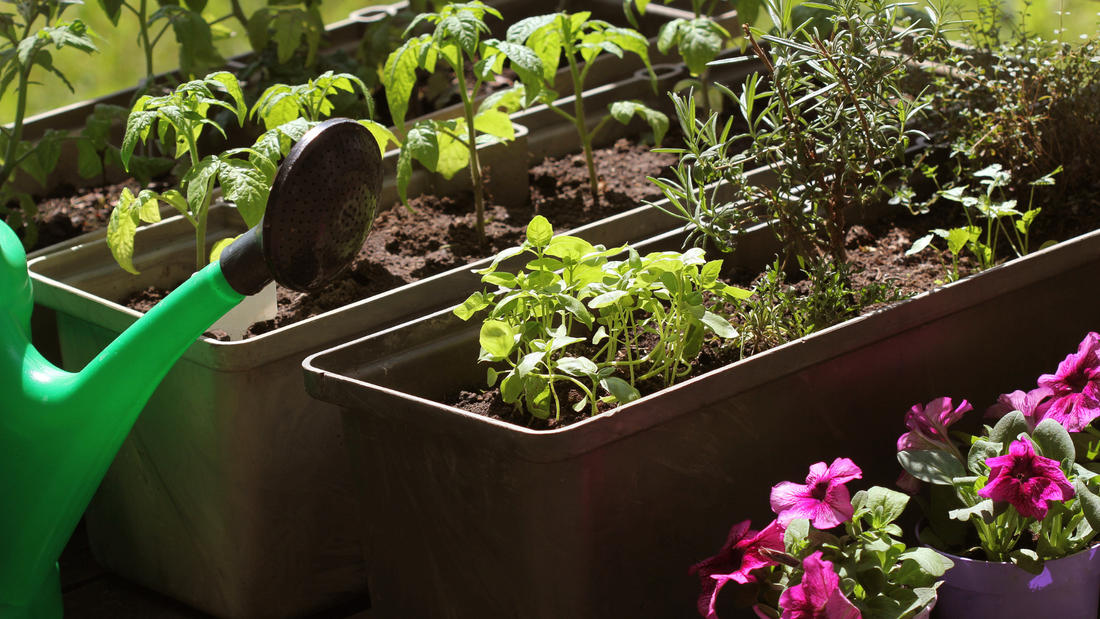
Looking for a new way to spruce up your outdoor living space this fall? We recommend giving container gardening a go! Container gardens are a great way to let your creativity run wild and is a perfect option for both new and seasoned gardeners alike. Not sure where to start? We’ve put together a step-by-step guide to help you kick start your new project.
What is a container garden?
A container garden is planted outside in a container versus in the ground. They are perfect if you are testing out your green thumb for the first time, for those living in urban areas (we love balcony gardens), gardening with kids, or simply sprucing up your outdoor areas for those autumn nights and weekends spent outside. These containers are often simple flowerpots, but they can be anything – let your imagination run wild! Container gardens can thrive in environments from bathtubs to boots and can be funky, modern, traditional – whatever fits your vibe.

How to create your own outdoor container garden:
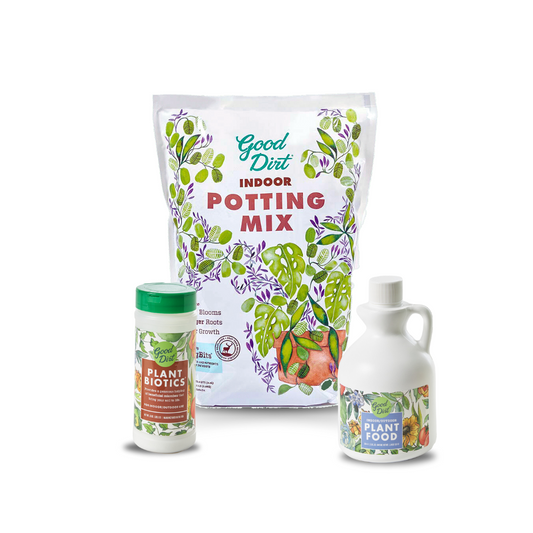
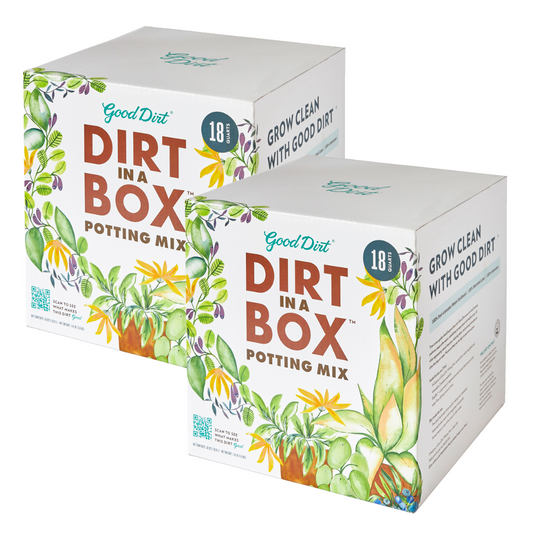
1. Fill your pot with Good Dirt Outdoor Potting Mix.
Fluff and loosen the soil with your hands to get it ready for planting. Roots love this!
2. Go plant shopping.
This is the fun part. Take a trip to your favorite local nursery or greenhouse and pick out plants that make you light up! Consider: Leaf Size (Big and broad? Cute and compact? Long and thin?) Does it have flowers? (Do you want it to?) Texture? (How does it feel in your fingers? How does it look to the eye?) Color? (Is it bright? Muted? Soft? Loud?) Do you like it?! (This is the most important.)
There is no wrong or right way to put a planter together. Here are some tips to help you succeed, even if it’s your first time:
- Choose a Focal Plant- Make it something special to you. Maybe it’s extra tall, extra bushy, or extra colorful!
- Pick out mid-sized plants- These are to help fill in around your Focal Plant.
- Look for plants labeled ‘trailing’ or ‘vining’ to spill over the edge- Plant these last on the outer edge of your container.
- Let nature inspire you. – Think of common patterns or plant combinations you see around you outside. Feel free to add in annuals, perennials, succulents, herbs, even house plants – whatever fits your vision.
- And remember – you don’t need to have something flowering. You can create a beautiful container using just foliage and different textures. Take a look at the containers below for more inspiration.
3. Start Arranging.
Here’s a pro tip: leave the plants in their pots while you create your arrangement. Play around until it’s perfect, mess-free. Plant when you are ready and don’t forget to top off your container with additional potting mix to ensure that all those roots are sufficiently covered.
4. Feed and Water.
Sprinkle Good Dirt PlantBiotics on top of the soil. Mix Good Dirt Plant Food into your watering container (remember: 3 capfuls per gallon for outdoor plants!). Give your container a good drink of water – moist, but not soggy.
Don’t be intimidated! If something doesn’t look quite right, you can always re-plant as needed until you love it.

Myth Busters
In your own research, you may find ideas or tutorials that advise adding gravel to the bottom of your pots or containers. Take it from us – do NOT add gravel to your plants.
Adding gravel under your potting mix creates a barrier between the soil and the drainage hole in your pot. When you water your plants, the gravel at the bottom will impede drainage, forcing water back up into your pot and causing root rot. Want to learn even more about the science behind this?
Here’s a great graphic that illustrates this phenomenon:

Photo Credit: Parker County Texas Master Gardeners


